PAY.Parts
A suite of pre-built UI components that you can embed in your own checkout to accept payments.
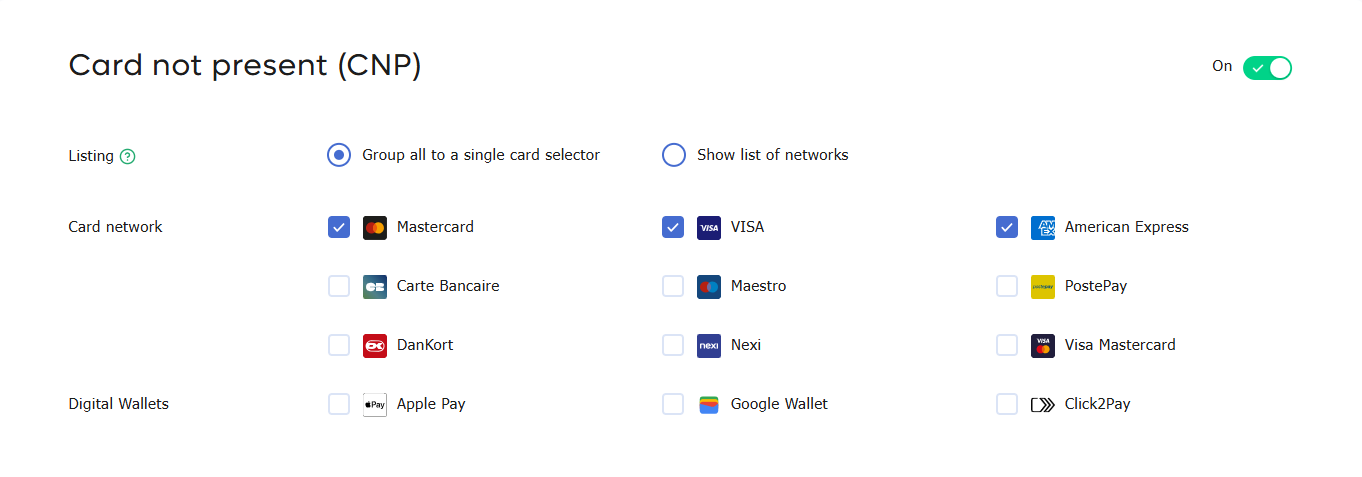
Card Input Method enablingTo use PAY.Parts, you must separately activate the card network payment methods and complete onboarding at the sales location. Processing through payment option Visa Mastercard is not possible for PAY.Parts.
Different components
| Visual | Component |
|---|---|
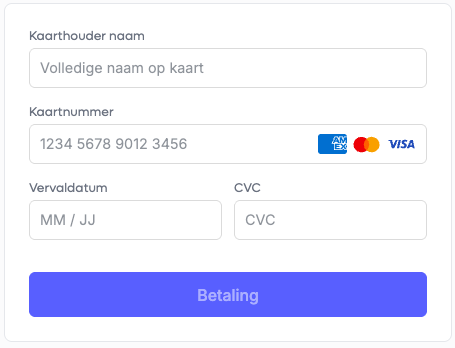 | Card Network Payment form — Enter card details (name, card number, expiry date, CVC). |
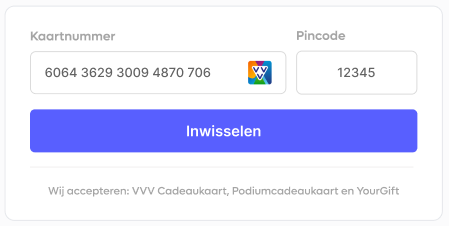 | Gifcard Redeem form — Accept a variety of giftcards on the checkout page. |
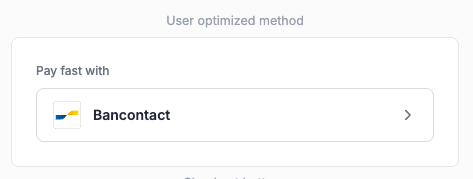 | Payment Method Optimizer [BETA] — User-optimized flow showcasing the last-used payment method. |
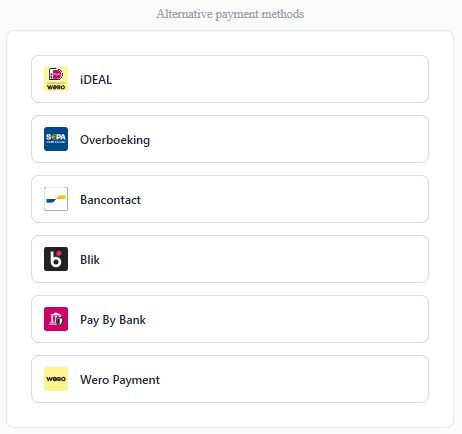 | Alternative Payment methods [BETA] — Full payment method list from the enabled methods on the service. |
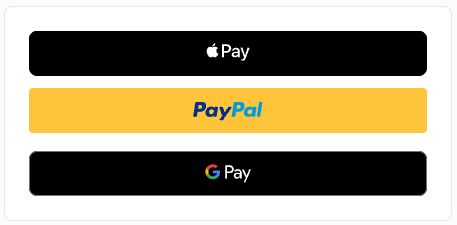 | Checkout buttons [ALPHA] — Apple Pay, PayPal and Google Pay buttons. |
View a full working demo at https://parts.pay.nl/.
A vibe-coded proof of concept
To indicate how easy it is to integrate PAY.Parts we have vibe-coded a proof of concept with one single prompt.
Introduction
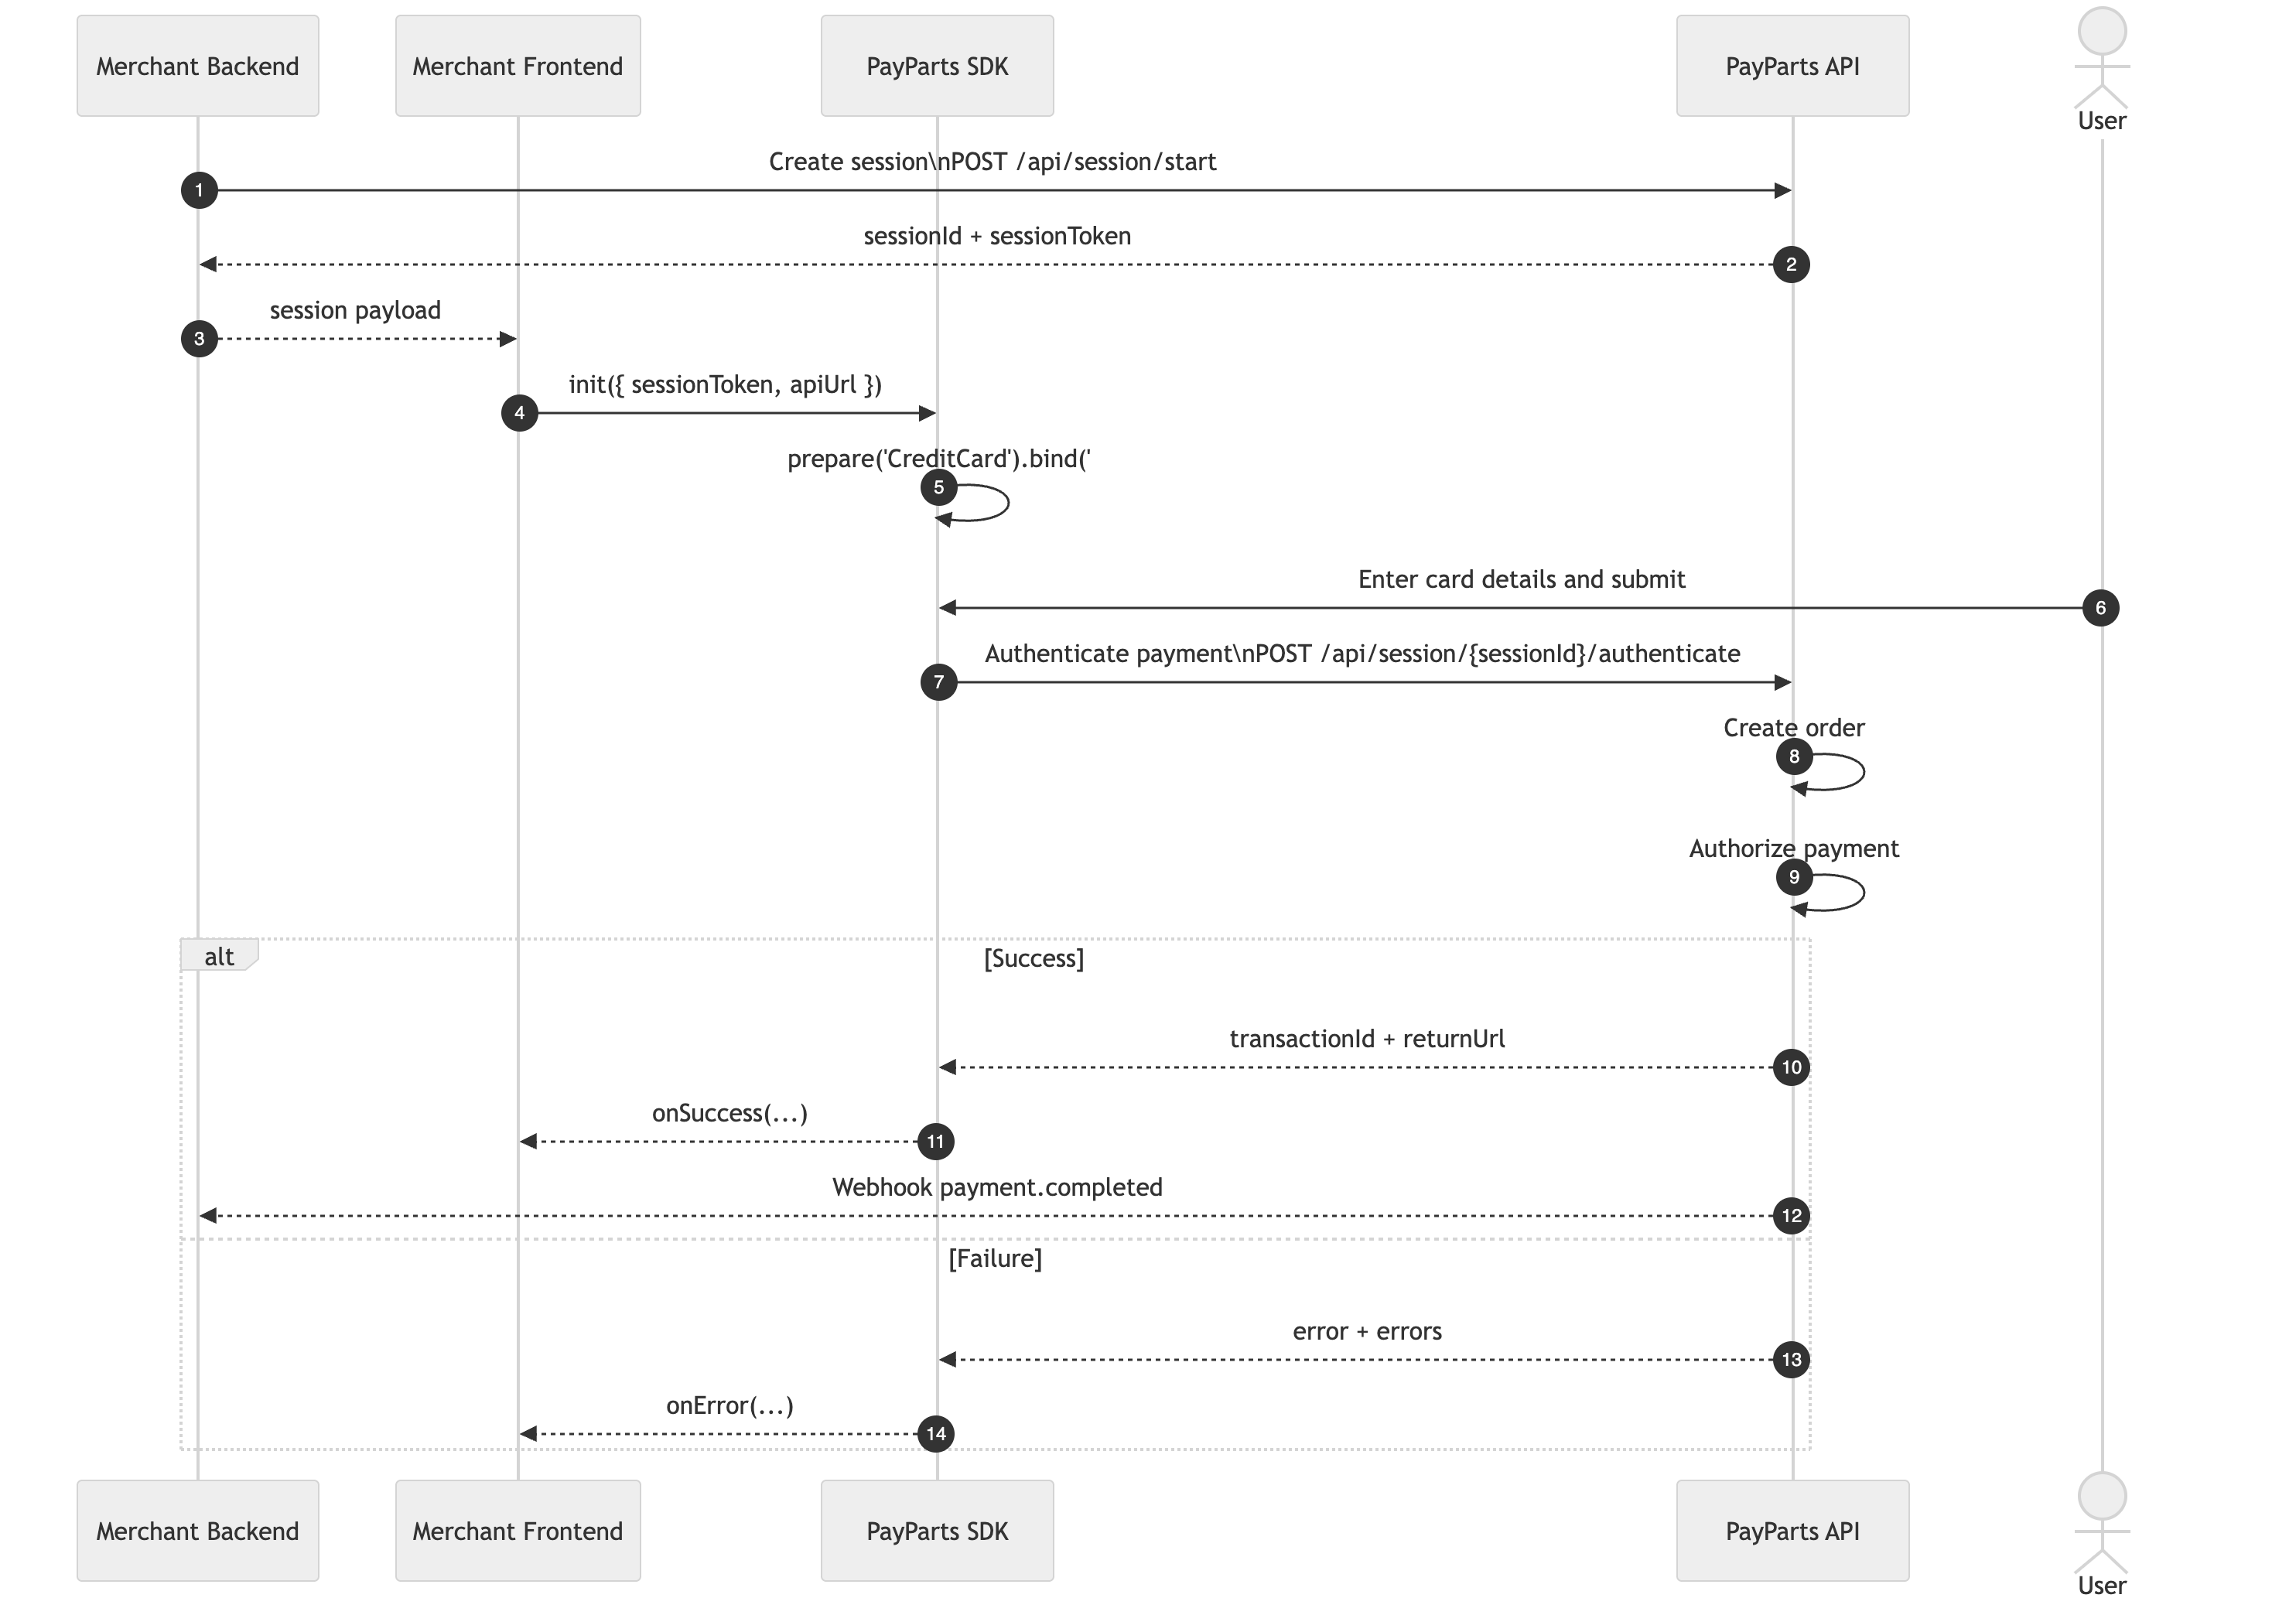
The frontend must include PayParts.js, a JavaScript SDK developed by Pay. This SDK is responsible for rendering the payment UI components directly on your checkout page.
When the consumer is ready to proceed, the merchant backend requests a session token from Pay. Once the session token is retrieved, PayParts.js can be initialized and the required components can be mounted.
Your client then completes the payment. If 3D Secure authentication is required, the payer is redirected to a 3D Secure page to finalize the verification. After the payment process is completed (successfully or not), the appropriate order confirmation or failure page can be shown to the consumer based on the result.
Some flows result in a redirect flow where the user is returned to your ReturnURL where you can confirm the payment state; other flows result in a direct confirmation of state based on the PaymentComplete Event.
We send a webhook to the merchant backend with the results of the payment, based on the Exchange URL configured in the ServiceLocation or injected via the PayLoad.
Setting up a checkout on your website using PayParts involves a few straightforward steps and is relatively easy to implement.
Flowchart
Available components
| Component | What it is |
|---|---|
checkout-buttons | Component that combines the Apple Pay, PayPal and Google Pay buttons |
card-payments | Component to enter card details (name, card number (Pan), expiry date and CVC). See below for PCI requirements |
applepay | Component to add the Apple Pay wallet button |
googlepay | Component to add the Google Pay wallet button |
paypal | Component to add the PayPal wallet button |
methods | Full payment method list from the payment methods enabled on the service. The same as our Hosted Checkout. |
giftcards | Giftcards to accept a variety of giftcards on the checkout page. |
click-to-pay-methods | Click-to-Pay methods list |
user-optimized | User optimized flow showcasing the last-used payment method for that user. Enabling fast, familiar checkout. |
PCI requirements for the Card Payments component
Before you can request, process, or store cardholder data on your website, you must comply with the Payment Card Industry Data Security Standard (PCI DSS). This is a set of security requirements designed to ensure that all companies handling card information maintain a secure environment.
Read the knowledgebase article: https://support.pay.nl/en/knowledge/pay-parts-requirements
Requirements for ApplePay and GoogleWallet buttons
To enable Apple Pay and Google Wallet buttons on your own domain, your domain must be registered with both Apple and Google. We handle this enrollment automatically for the URLs you provide during signup.
Apple Pay
- Host our
.well-knownfile athttps://yoururl.com/.well-known/apple-developer-merchantid-domain-association— here is the file: Right click (save as) - Contact our support to have your domain whitelisted.
- Make sure you've finished boarding Apple Pay under Sales Locations in the dashboard (my.pay.nl).
- After confirmation from boarding you should be able to accept payments with Apple Pay!
Google Wallet
Google Wallet is currently not enabled for production.
How to integrate Pay.Parts
Use the following steps to integrate Pay.Parts:
- Create a session from your backend
- Add components to your frontend
- Optional: handle events
- Reference: SDK API reference
Signed exchangesPAY.PARTS exchanges are signed using the Service Location credentials.
The key used to sign an exchange depends on the credentials that were used to create the payment. PAY.PARTS sessions are created using a Service Location (SL) and its secret. Exchanges resulting from a PAY.PARTS payment are therefore signed using that same Service Location secret.
For these exchanges:
signature-keyidcontains the relevantSL-xxxx-xxxxcode; use the secret belonging to that Service Location to verify the HMAC signature.- Do not use your merchant API token (AT code) to verify a PAY.PARTS exchange. An API token is only used for signature verification when the underlying object was created using that API token.
Updated about 1 hour ago