
Register your merchants
This section explains how to register a (sub)merchant account via the API, in the https://my.pay.nl portal by filling out a form or by using our signup.pay.nl process.
Once the registration is properly submitted, transactions can usually be processed right away. As a licensed financial institution, Pay. is obligated to perform KYC (Know Your Customer) checks to prevent money laundering and the funding of terrorist.
For this, we'll request various documents and information. After these documents are submitted and reviewed by our onboarding team, the merchant will undergo a thorough evaluation based on several factors. Once these checks are completed, PAY. can start clearing and settlement to the merchant's bank account for the processed funds. See the Onboard your merchant for more details.
Create a merchant via the API
With our Merchant:Create API you can create a merchant account for your merchants. With one API call you can create the account, add the relevant persons (/users) and provide the basic information of your merchant to Pay.
The following recipe gives a step-by-step walkthrough of all the possible options.
Create a merchant in the portal
Alternatively, you can manually add a (sub)merchant through Pay.'s merchant management page by filling out a form.
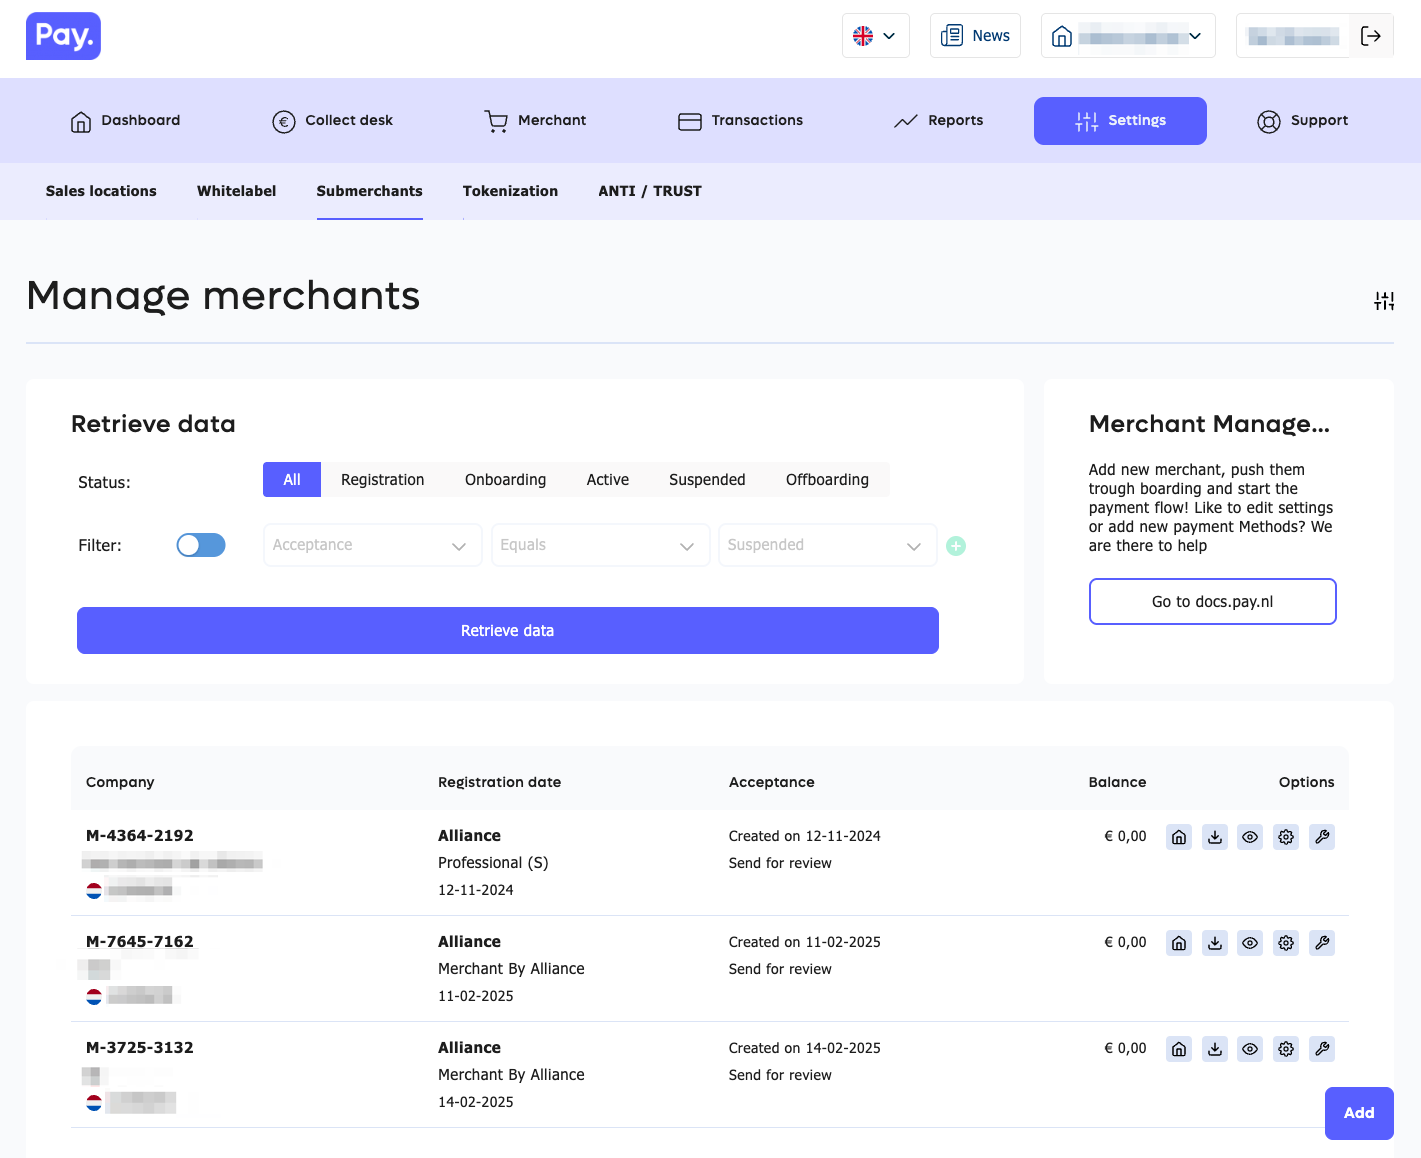
This page gives you an overview of all merchants that are created under your account. By pressing the button 'Add' a new merchant account can be created. This page is divided into several components.
Package
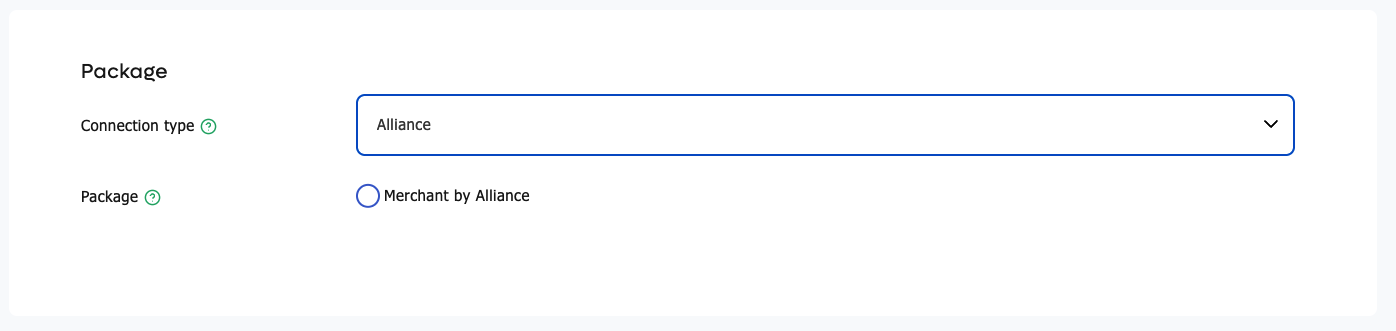
Depending on the type of partner license you have select here the appropriate connection type and select the package to onboard your merchant with all your pre defined settings (like settlement scheme, pricing strategy and the optimize settings)
Company information
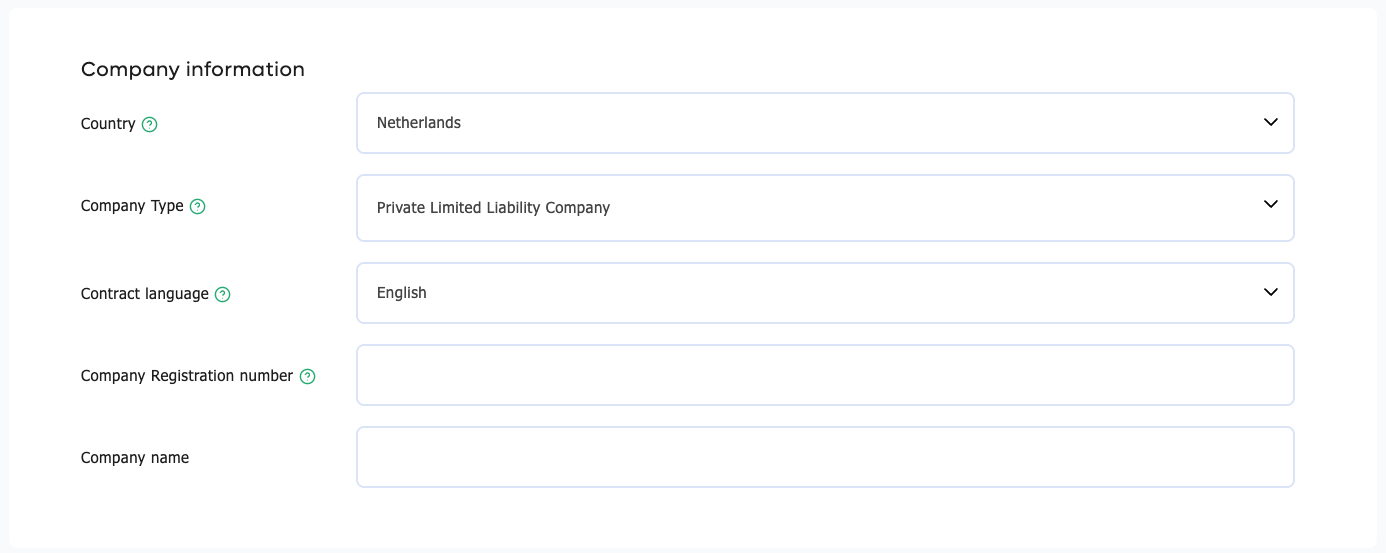
Send us the basic information of the merchant, select the legal form and contract language.
Address
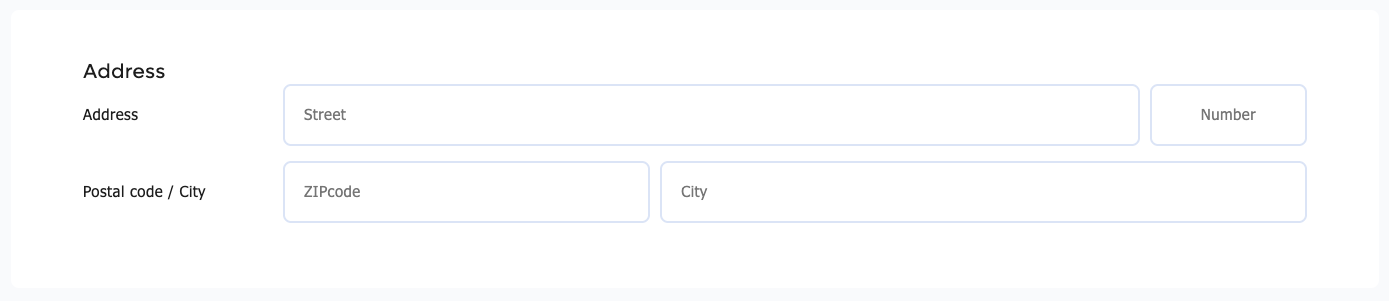
This is the location of the merchant, mostly where the activities of the merchant are being managed. This address is used in transaction information to the payment schemes. We might validate this address by requesting additional documents.
Bankaccount details
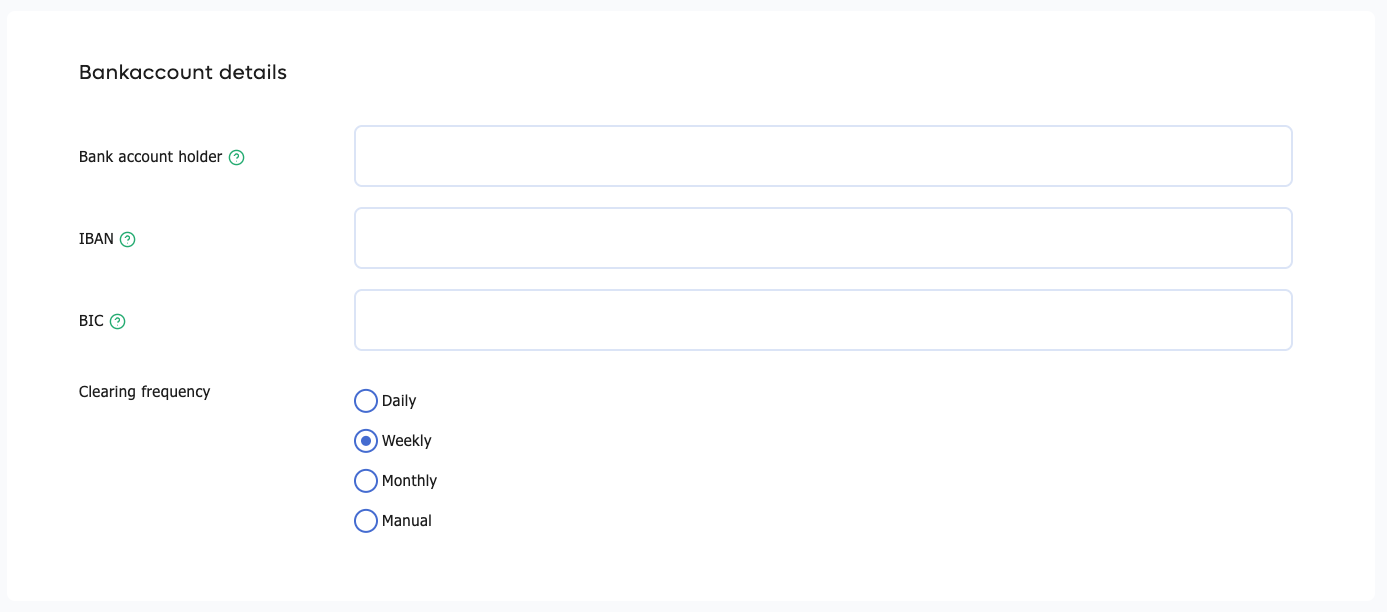
Provide the payment account on which we settle the funds. For now only an IBAN number is supported.
Signees and UBO information

Provide the signees and UBO information, add as many users if you like. Provide if the user is a signee and/or an ubo. You can also indicate if the user needs to be able to login into our platform. It is possible that the user is already known within Pay. If that is the case, we will automatically linik the merchant that you create to this person.
Contact data
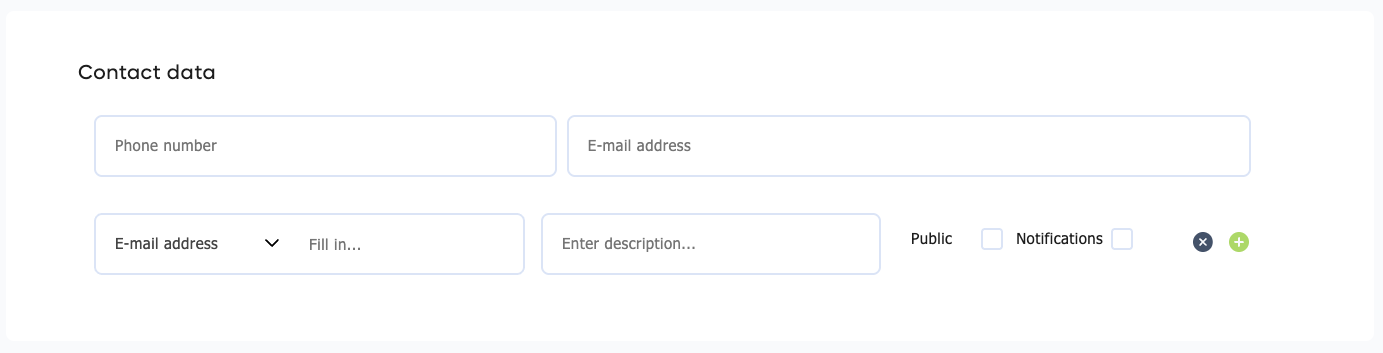
Provide the contact data on which the merchant can be reached. If you enable notifications, system notifications will be sent out to this e-mailaddress. Should you choose to make this public, we can use this contact data to give your company contact info to end users.
The phone number and e-mail address are mandatory as of the 1st of August if you want to facilitate InPerson Payments (on a physical payment terminal or through our Pay.POS app) or online card payments (Card not Present).
To be future proof we advice to always supply the phone number and e-mail address.
Sales location
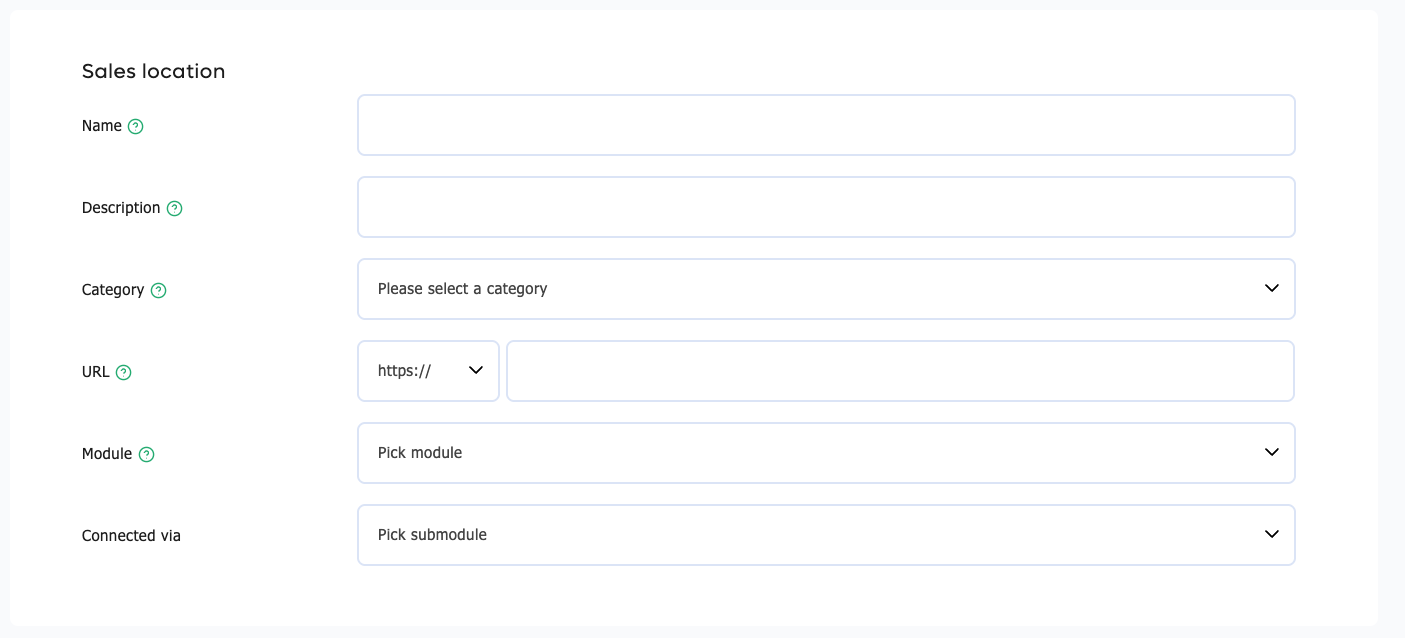
We need to get at least the first service of the merchant. This can be a physical store, eCommerce website or other integration that uses PAY. We use the category in our risk scoring module and based on the selected category payment options may be shown in the next component. The module and submodule provides the right technical connection and documentation to the merchant.
Payment Options
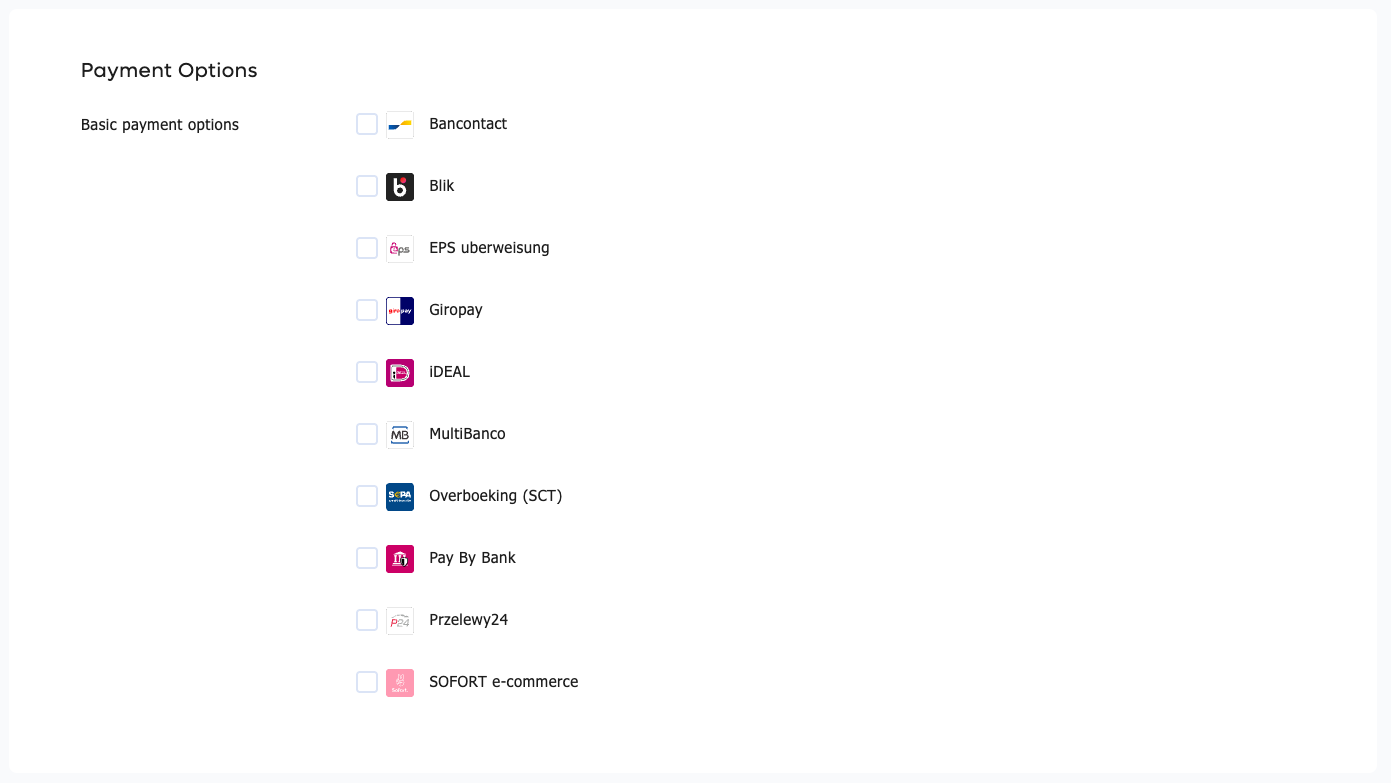
Select the payment methods that needs to be enabled on the service that is created when the merchant is added.
Other setup
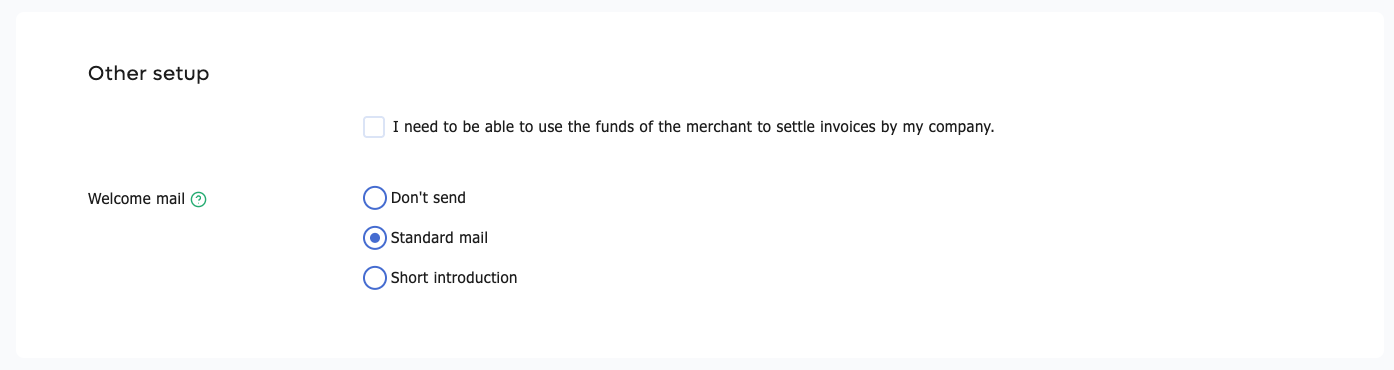
Provide additional setup options. The number of options shown here can be depended on the partner license you have with Pay.